
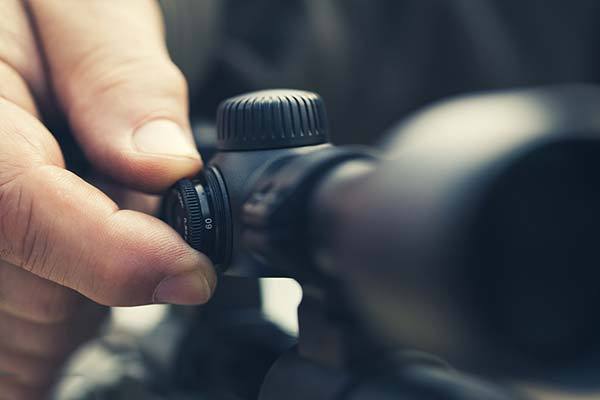
Many people are not quite sure how to adjust, zero, and use a newly purchased riflescope. Experienced users may have fewer problems, but for beginners who are not yet familiar with the product, even if they know how to use it, their knowledge is often only superficial. It is difficult to get everything right the first time. The following is a brief introduction that we hope will be helpful.
1. Eliminate parallax
To aim accurately and shoot precisely, you must first eliminate the parallax of the optical riflescope, that is, set the parallax to zero. This ensures that even if your eye position changes slightly while aiming, the point you see remains accurate. Only then can you adjust the riflescope so that the aiming point and point of impact coincide as closely as possible! A riflescope should not be placed directly against the eye like a telescope. The correct method is to maintain a distance of approximately 4~7cm, because recoil during shooting can cause the firearm and riflescope to move backward and potentially strike the eye. Therefore, riflescopes are generally designed with a suitable eye relief.
2. Understand the meanings of the essential parameters
Some numbers commonly seen on the riflescope body indicate its specifications. For example, 3-9x40 means that it is a variable-power riflescope with a minimum magnification of 3x, a maximum magnification of 9x, and a 40mm objective lens diameter. For example, 4x40 indicates a fixed-power riflescope with 4x magnification and a 40mm objective lens diameter. The elevation adjustment turret is generally located at the top, while the windage adjustment turret is located on the right. (When rotating either the top or side turret, each click represents a 1/4-inch adjustment. The click value is 1/4 MOA (1 inch = 2.54cm). The closest focusing distance is 10Y (1Y = 0.9144m, which means 10Y≈9.1m; a 1/4-click value means that the point of impact moves 2.54/4=0.635cm at 100 yards). If adjustment is required, the process is quite simple. If the point of impact is below the center of the crosshairs, adjust the top turret by an appropriate amount in the direction of the arrow marked up. If the point of impact is to the right of the crosshairs, adjust the windage turret in the direction of the arrow marked left. This adjusts the reticle vertically and horizontally, and vice versa.
3. Adjust the riflescope
When adjusting the point of impact, first determine a shooting distance. If the target distance is preset to 10 meters and the correction is tested in groups of three shots, the process consists of four steps.
1) Identify the actual point of impact
First, set up a target chart or target object. I recommend that beginners start by practicing with a target chart, as it provides a clearer and easier way to begin. Fire three shots at the center.
2) Identify the center of the shooting point
At a shooting distance of 10 meters, if none of the three shots hits the bullseye, the riflescope needs to be zeroed. Locate the three points from the previous three shots, connect them, and identify the center point.
3) Measure the vertical distance between the actual shooting center and the center of the target
Suppose the horizontal distance between the center of the triangle and the center of the target is measured as 40.74mm, and the vertical distance is 45.66mm. As mentioned above, the elevation and windage turrets of the riflescope are marked 1/4'' 100YD, and one quarter of an inch equals 6.35mm. This means that the horizontal deviation to the right is (40.74÷6.35)X10 = 64.15748 clicks (the 10 here refers to zeroing at 10 meters). Adjust the windage turret by rotating it approximately 64 clicks in the L direction. Similarly, the vertical deviation downward is (45.66÷6.35)X10 = 71.90551 clicks. Adjust the elevation turret by rotating it approximately 72 clicks in the UP direction. At this stage, the basic zeroing is generally complete, with only the final correction remaining.
4) Perform another three-shot test at the 10-meter shooting distance
Because the distance and adjustments were not measured carefully enough, some error will generally remain, although it should be approximately 1mm. Make another adjustment by rotating upward one click and to the right one click. At 10 meters, the shots should then be brought back to the same point. After this, the next shot should hit the bullseye.
If you want to measure distance more accurately and easily, you can choose a rangefinder riflescope. This type of riflescope does not require a ruler or a reference object; it can generally measure distance automatically and without error. It is particularly effective when dealing with moving targets or hunting, where it is difficult to estimate the distance. For ordinary target-range shooting or shooting at a fixed target, however, there is usually a reference object or the distance can be measured in advance. It depends on the environment and what you are doing. For example, Bushnell mainly produces variable-power riflescopes. One of its rangefinder riflescopes has a compact and refined overall design, making it easy to carry.